Post to WordPress from Ulysses
Note: I’ve updated this app, and you can find out more info in the updated article. Plus it’s even easier to install and set up. Or go directly to the GitHub repository for this project.
Ulysses does a lot of things right as a writing tool. But it’s not designed to be a HTML or Markdown editor. It’s also not able to post directly to a blog.
But its export friendly nature makes it easy to build helper apps. So I wrote a Ruby script that will post to a WordPress blog. It’s also fast. It usually takes less than 5 seconds. That’s faster than the WordPress post editor loading time.
The Code
Being able to quickly write scripts like this is one of the reasons I’m convinced that Ruby was the language I was waiting for. It works in the same way I think.
NOTE: I’ve updated a few things, check this post for more information.
[gist https://gist.github.com/8ae067b639caf96eafec/04495034876fedeb83b51b43e6b6d5df6c9a3069]
One other thing this script does is add target=”_blank” to each external link.
Ulysses Setup
The script expects a sheet to be formatted a certain way. Make sure to remember the following:
- The first line must be a first level heading
#. - The second line is for tags, make sure to mark them as raw source (
~~)with a blank line1 following. This prevents them from being wrapped in<p></p>tags. Plus it makes it clear that this is metadata. - Always export as HTML Snippet. This prevents Ulysses from adding the full set of HTML tags. They’re not needed for a post body.
Here’s how the top of this document looks.

pbpaste | wp-post.rb. The result will either be the the new post number or an error message.Mac OS X Automator App
This script will also work in an Automator action. The output is notification center friendly. Here’s the steps: Create a new application.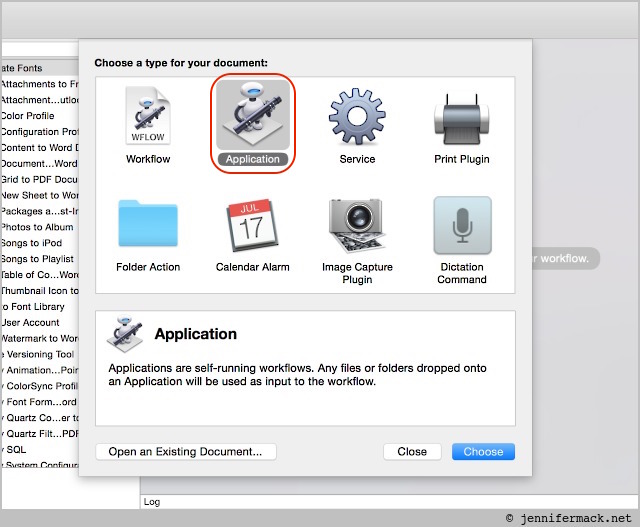
/usr/bin/ruby, and the “Pass Input:” to as arguments.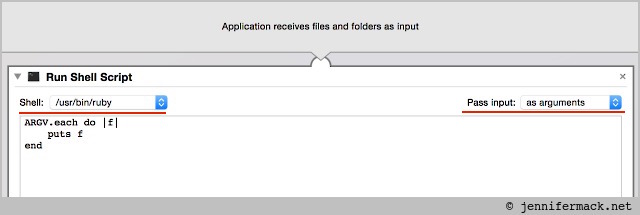
Set Value of Variable action. This will capture the output of the script.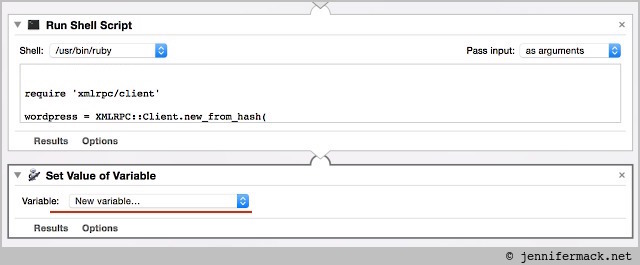
New Variable... and accept the default.
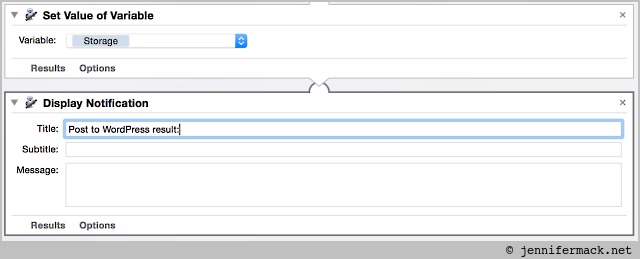
Message: field.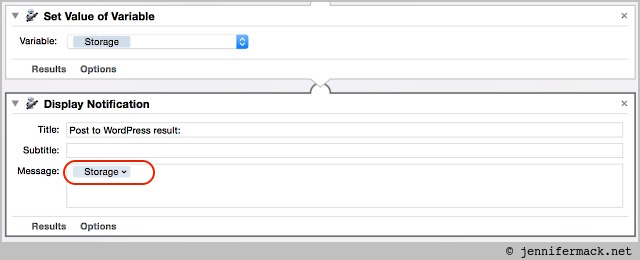
Post to WordPress, then open from the Ulysses export menu.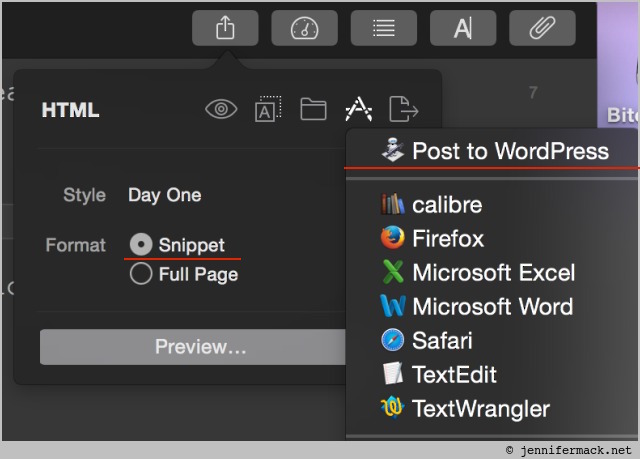
Conclusion
This was the a utility that I’ve wanted for a while. So I finally wrote one. Comments about the code are best posted to GitHub, and contribuitions are welcome.
- Without that blank like, the tags will get squished against the following paragraph. This will break everything if they’re not separate. ↩
